How to connect to the Trading Simulator
How to register to the competition
To register for the competition, please visit competition.bookmap.com.
Install Bookmap
Download the latest Bookmap application (minimum version 7.4.0.18). To do so, follow the link here and select your OS.
How to set up the connection with the Trading simulator
This step is required to enable trading on the Competition server.
- Launch the Bookmap application
- Select "Trading Mode"
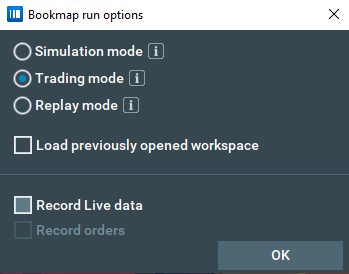
- Once Bookmap loads go to the Connections -> Configure menu
- Click on "Add Connection"
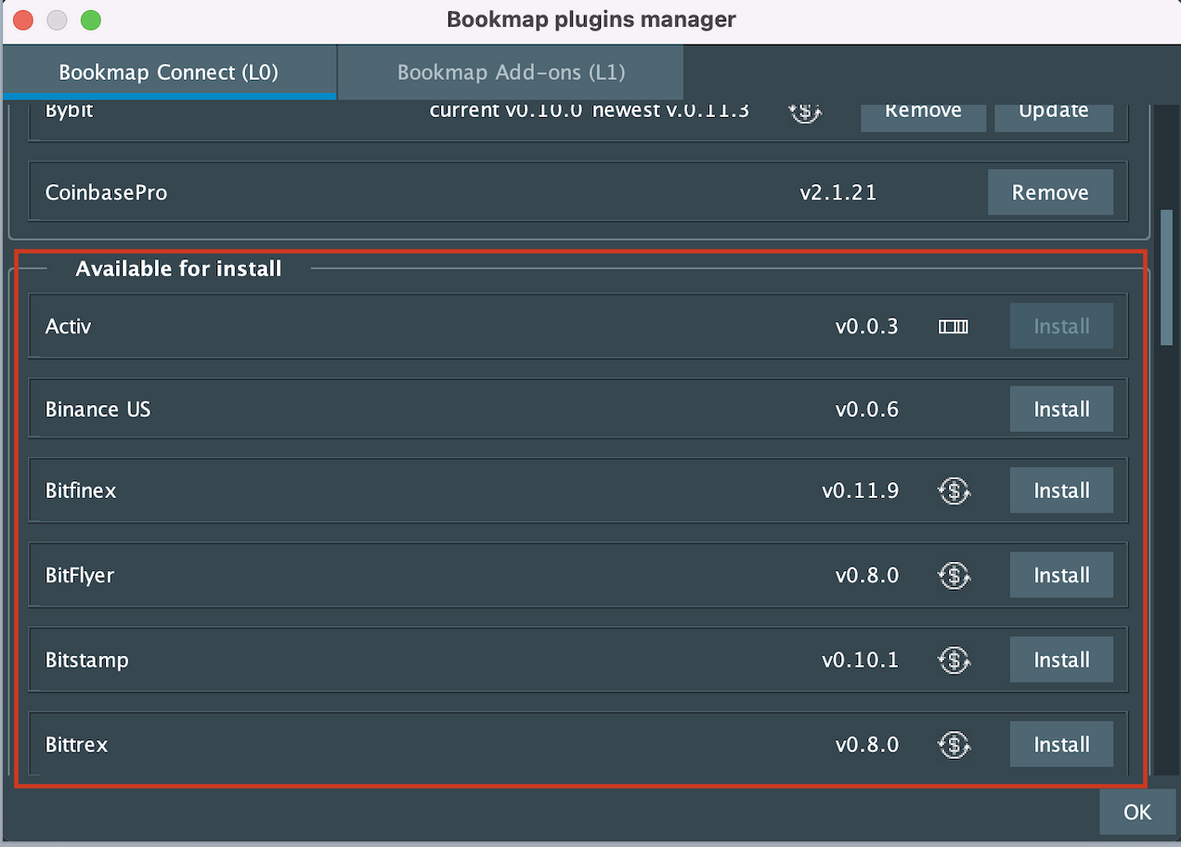
- Add the Trading Simulator from the Platform dropdown. If you can’t find the platform, click "More…" and search for the "Trading simulator" in the "Available to Install" section (Please note that if your Bookmap version is earlier than 7.4.0.18, the plugin will not be available for download and you will need to upgrade Bookmap).
- Choose Competition account
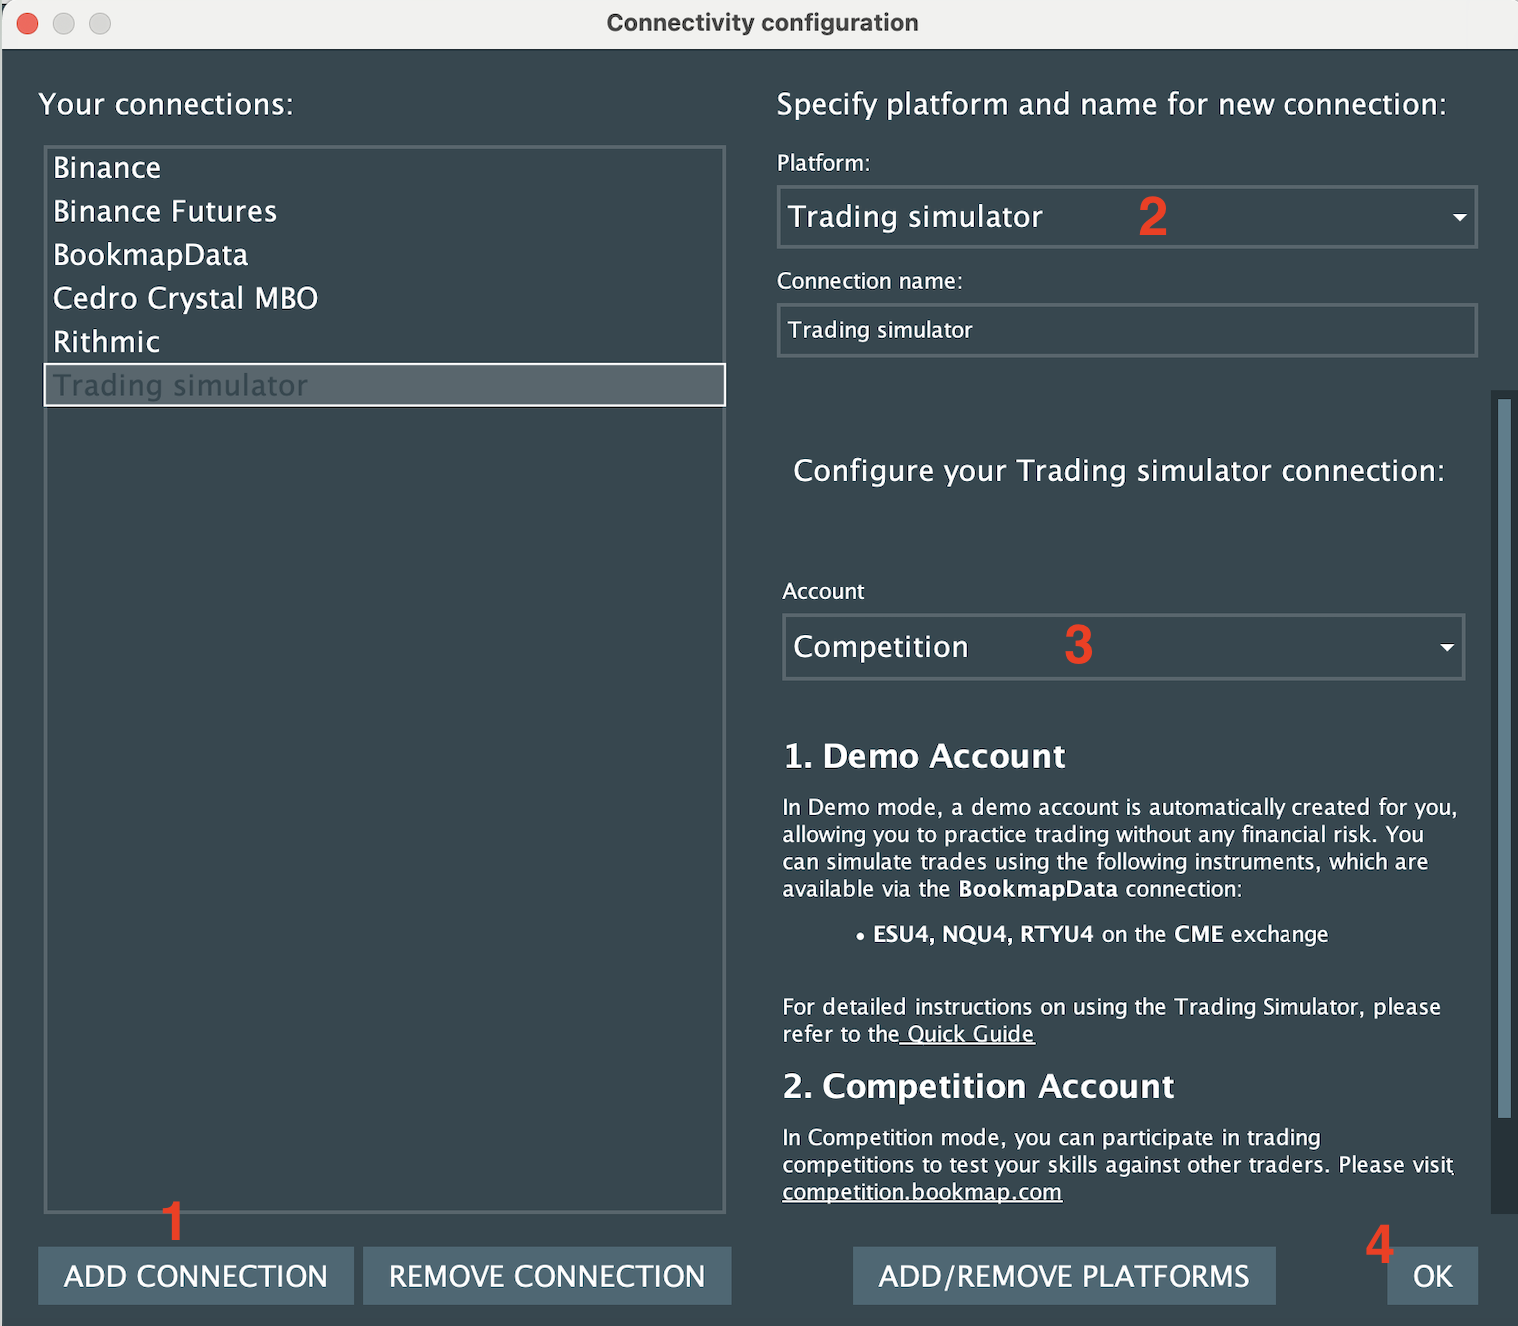
- Click "OK"
- Enable the Trading Simulator connection in the Connections menu
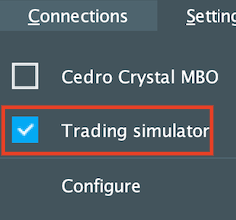
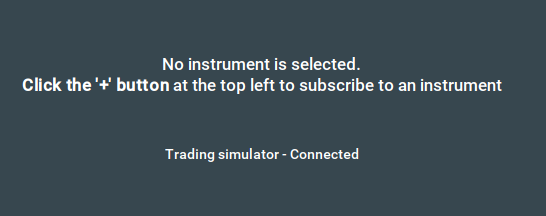
- Wait for the connection to be established:
Set up the connection with the data feed
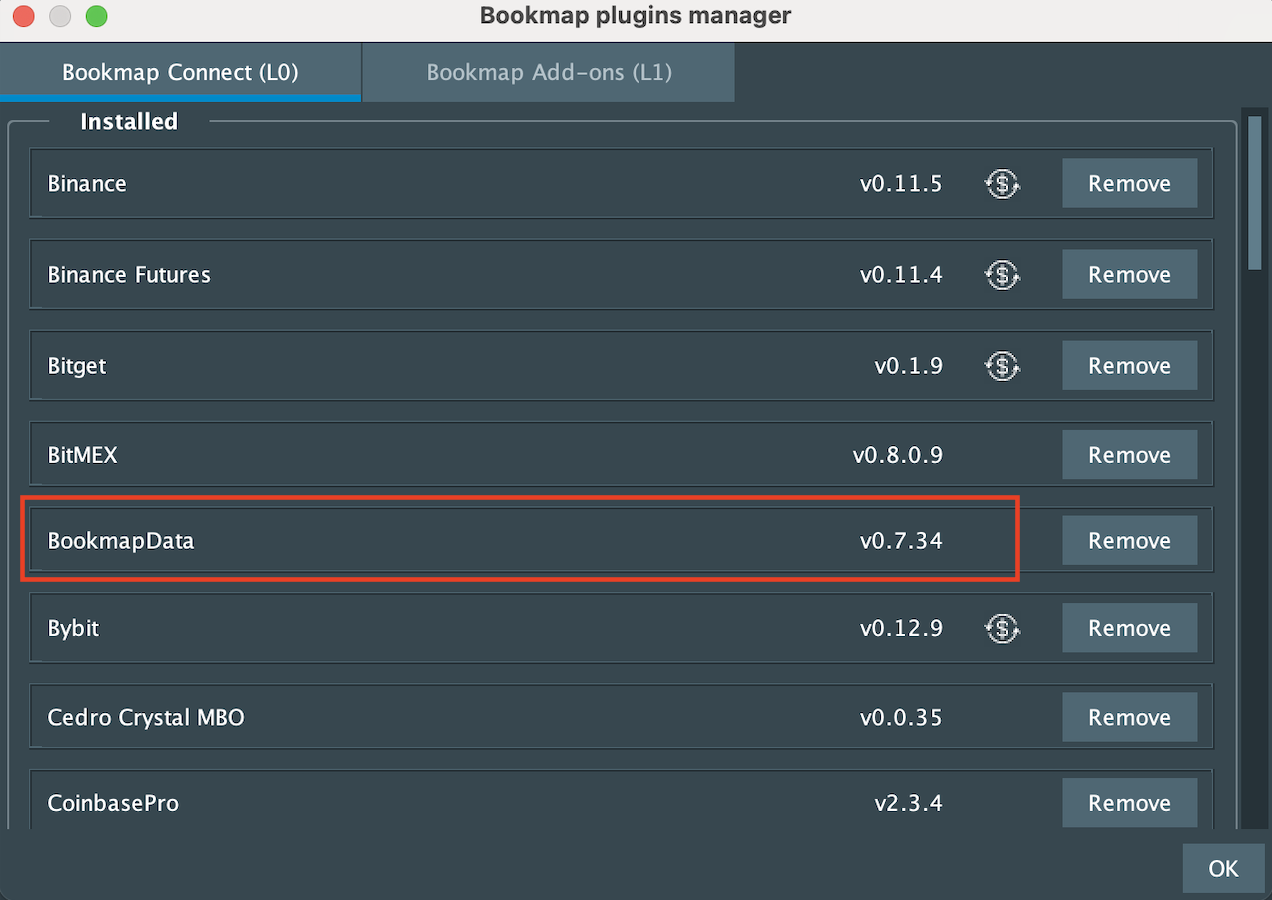
- To install the adapter, go to ‘Settings’ -> ‘Manage plugins’ and locate the "BookmapData" adapter.
- To create the connection, go to ‘Connections’ -> ‘Configure’ -> ‘Add connections’, and under "Platform" select "BookmapData".
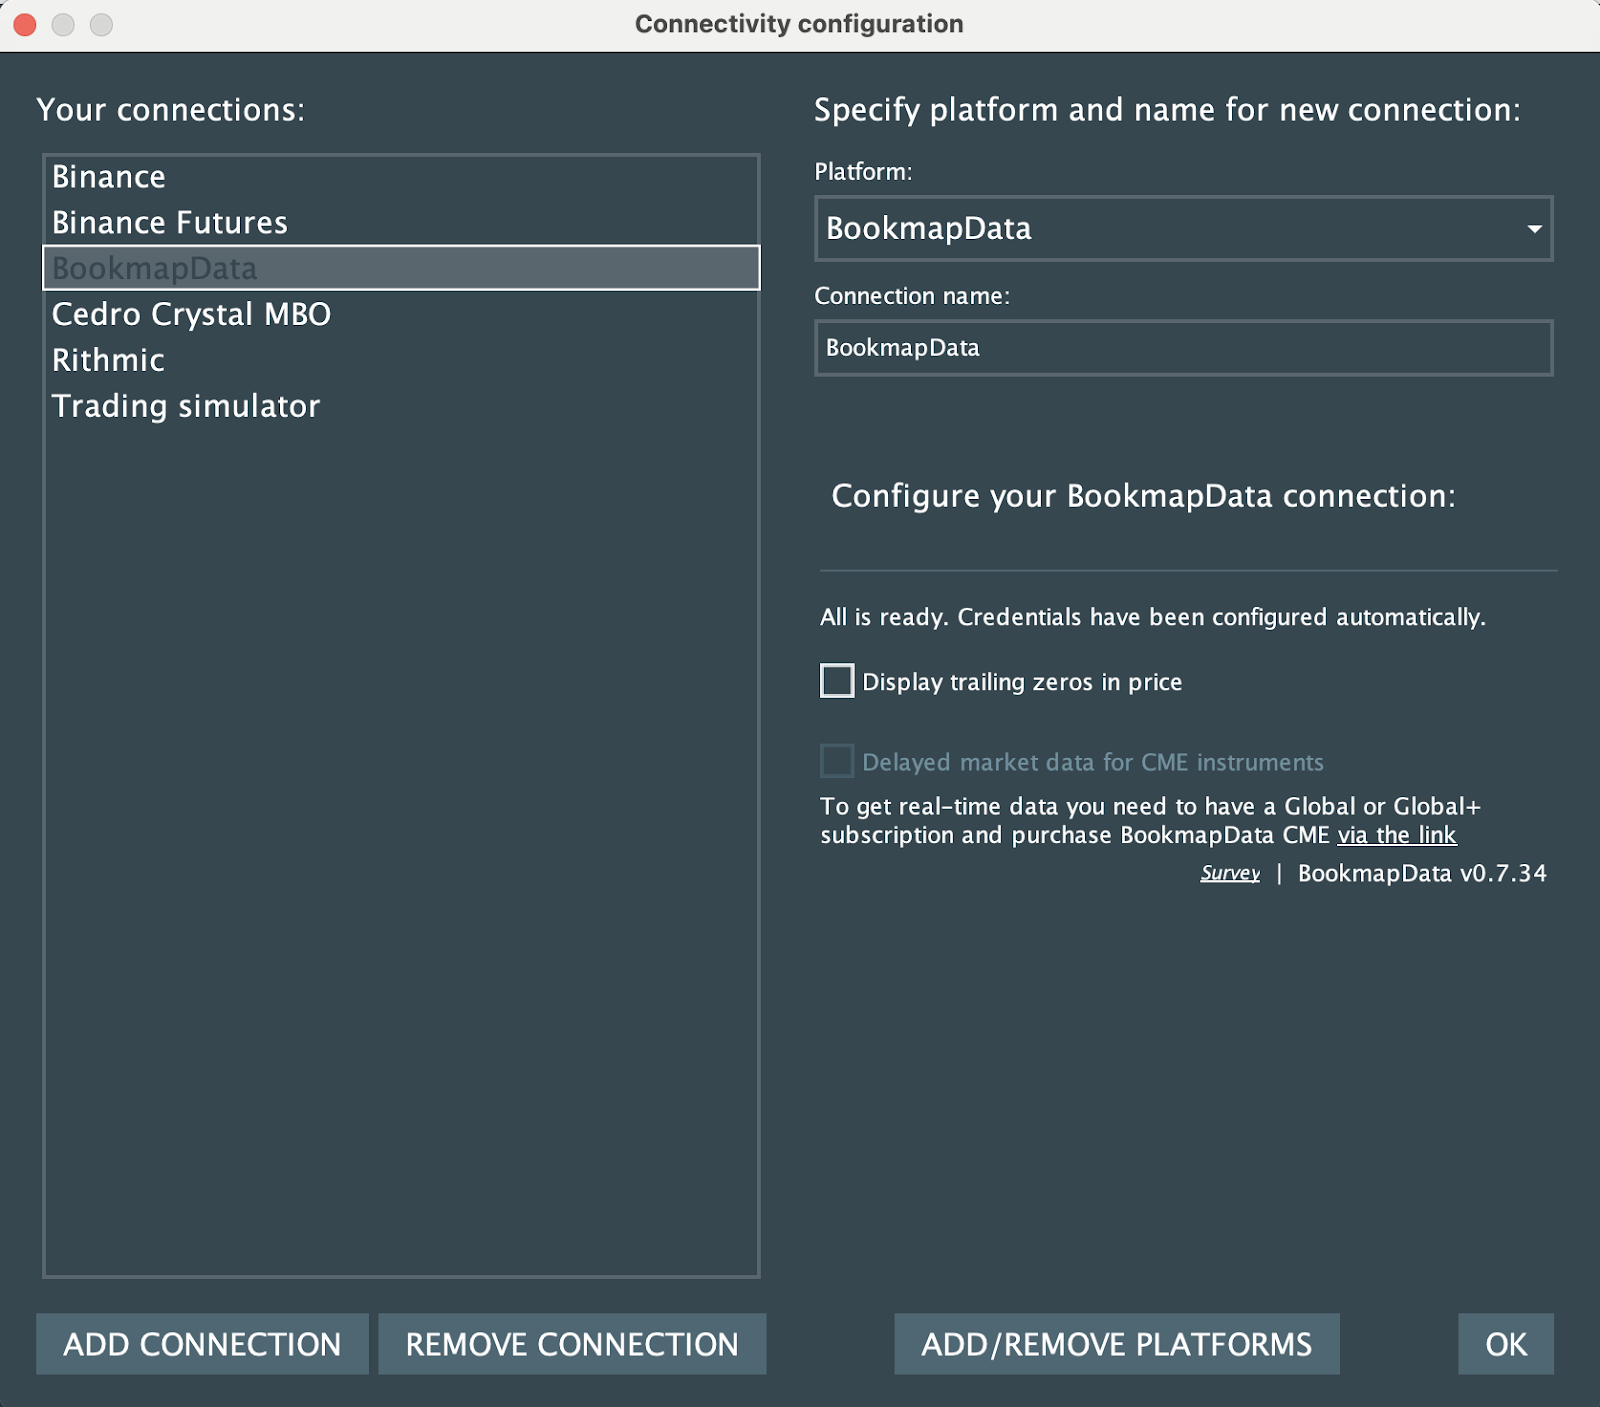
- Input your credentials.
- Click “OK”
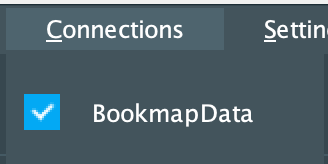
- Enable the BookmapData connection in the Connections menu
How to subscribe to the instrument
The Trading Simulator works as a cross trading adapter. This means that before you can start trading in the simulator, you must first subscribe to the supported data feed and instrument. For our competition, the supported feed and instrument are as follows:
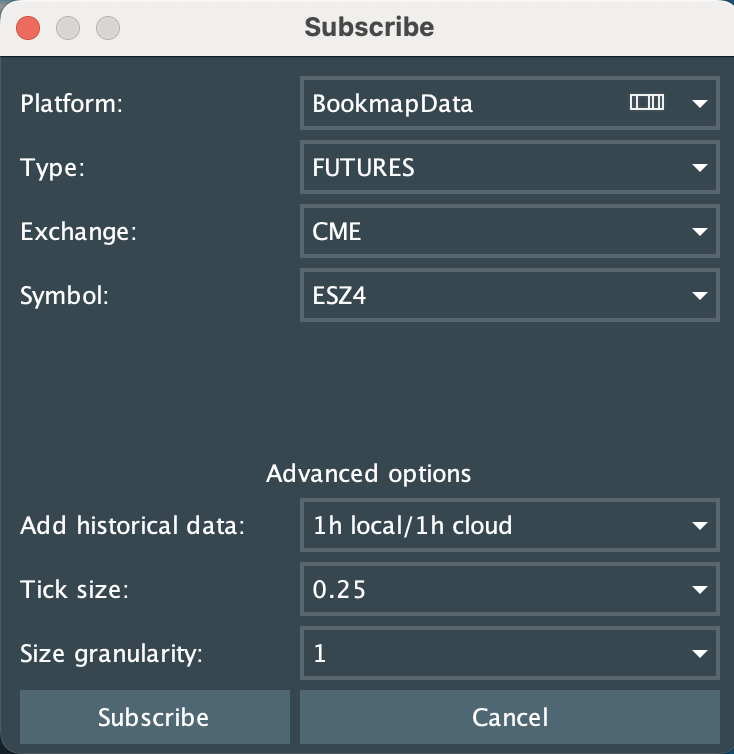
Platform: BookmapData
Type: Futures
Exchange: CME
Symbol: ESZ4.
First, let's connect to BookmapData. If you haven't set up the BookmapData adapter yet, you can follow the steps described here.
After establishing a connection with BookmapData, you can now subscribe to the ESZ4 instrument.
Click on the “+” icon, select the ESZ4 symbol as shown in the screenshot below and click "Subscribe":
How to enable cross trading
Now that you're subscribed to the instrument and connected to the Simulator, enable the TCP Panel by clicking on the padlock icon. Then, click "<None>" to display the available "trading instruments".
Select the "EZU4:Futures_Competiton" Instrument from the list and click "Start":
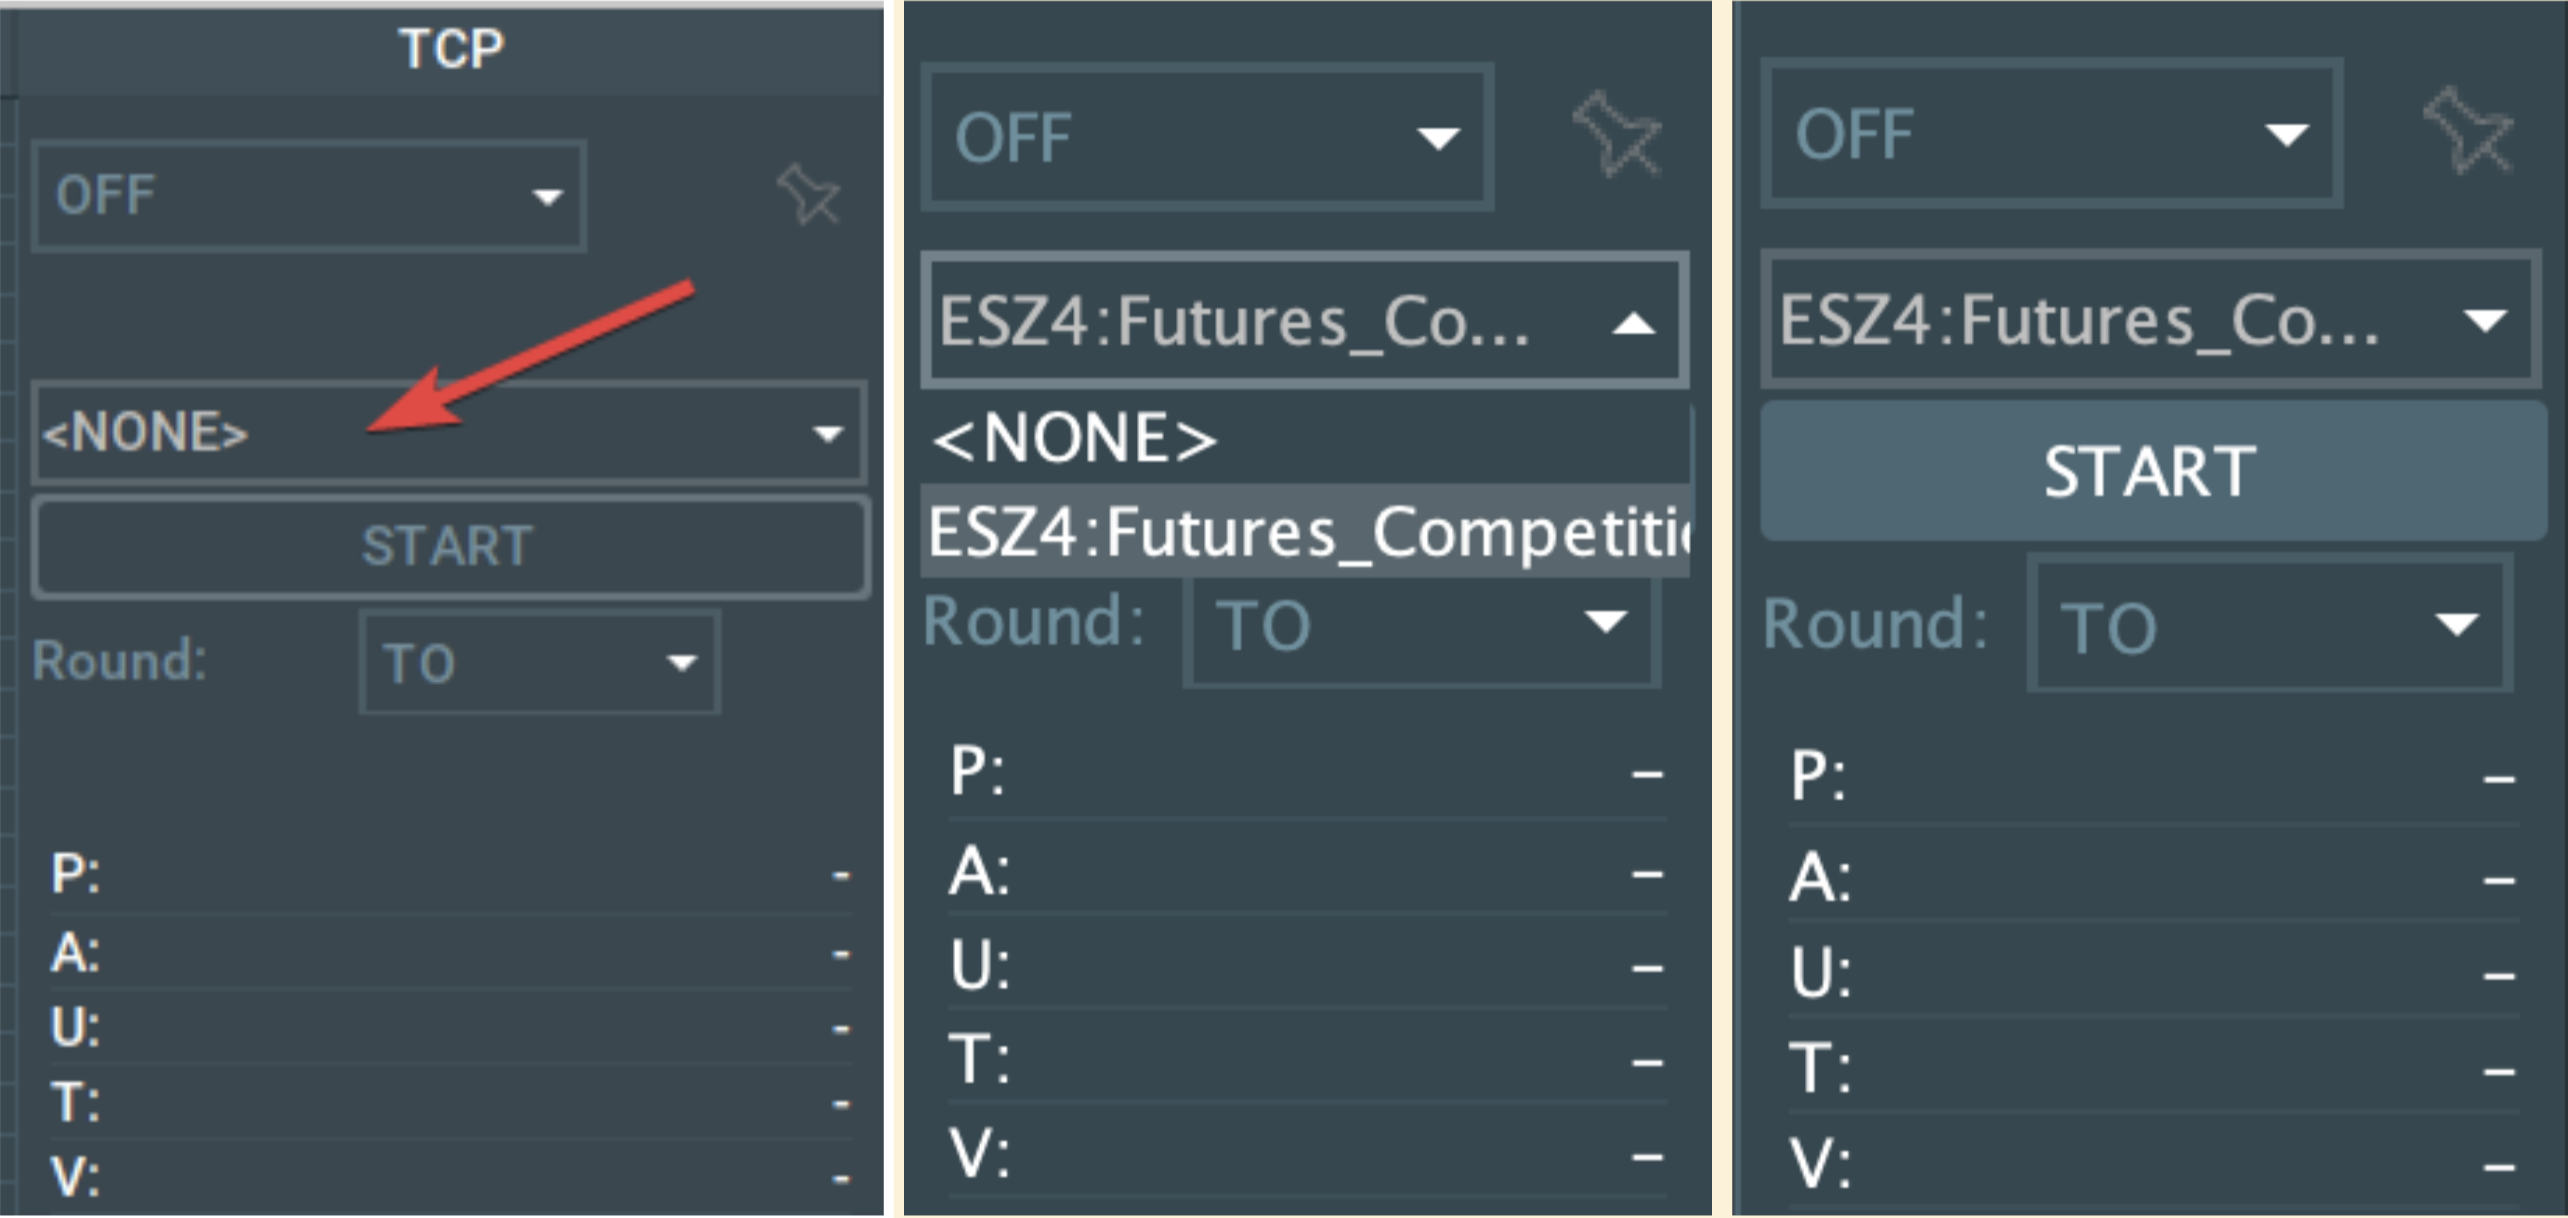
A pop-up will appear, indicating that crosstrading has started successfully.

How to enable trading
To enable trading after initiating the "Cross trading" connection, simply set the TCP to one of the following options:

Once this is done you can set your order size and place your orders.
How to view the balance
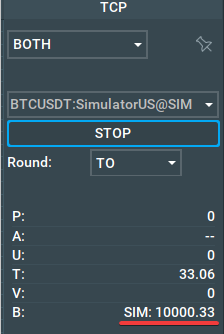
The balance is displayed in the TCP panel. To enable it, right-click within the TCP panel, select "Configure", and then toggle the "Account Balance" checkbox.
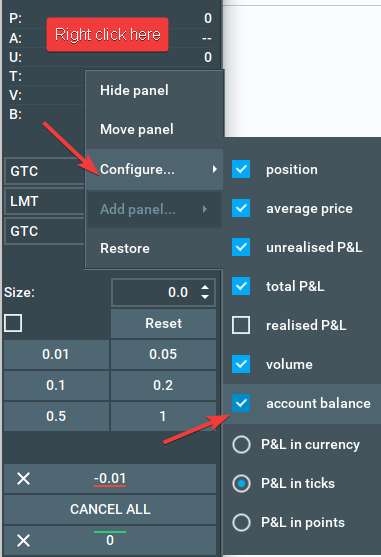
The balance will be displayed:
